Mon May 04 2026
Hand-eye coordination struggles led me to a better solution: a physical momentary push button for testing Shelly smart switches.
Written by: Cesar
2 min read
I was testing my Shelly setup using jumper cables to simulate button presses, but I was struggling with the hand-eye coordination required to connect them reliably. It was getting frustrating fast.
So I decided to order a physical button from Amazon instead.
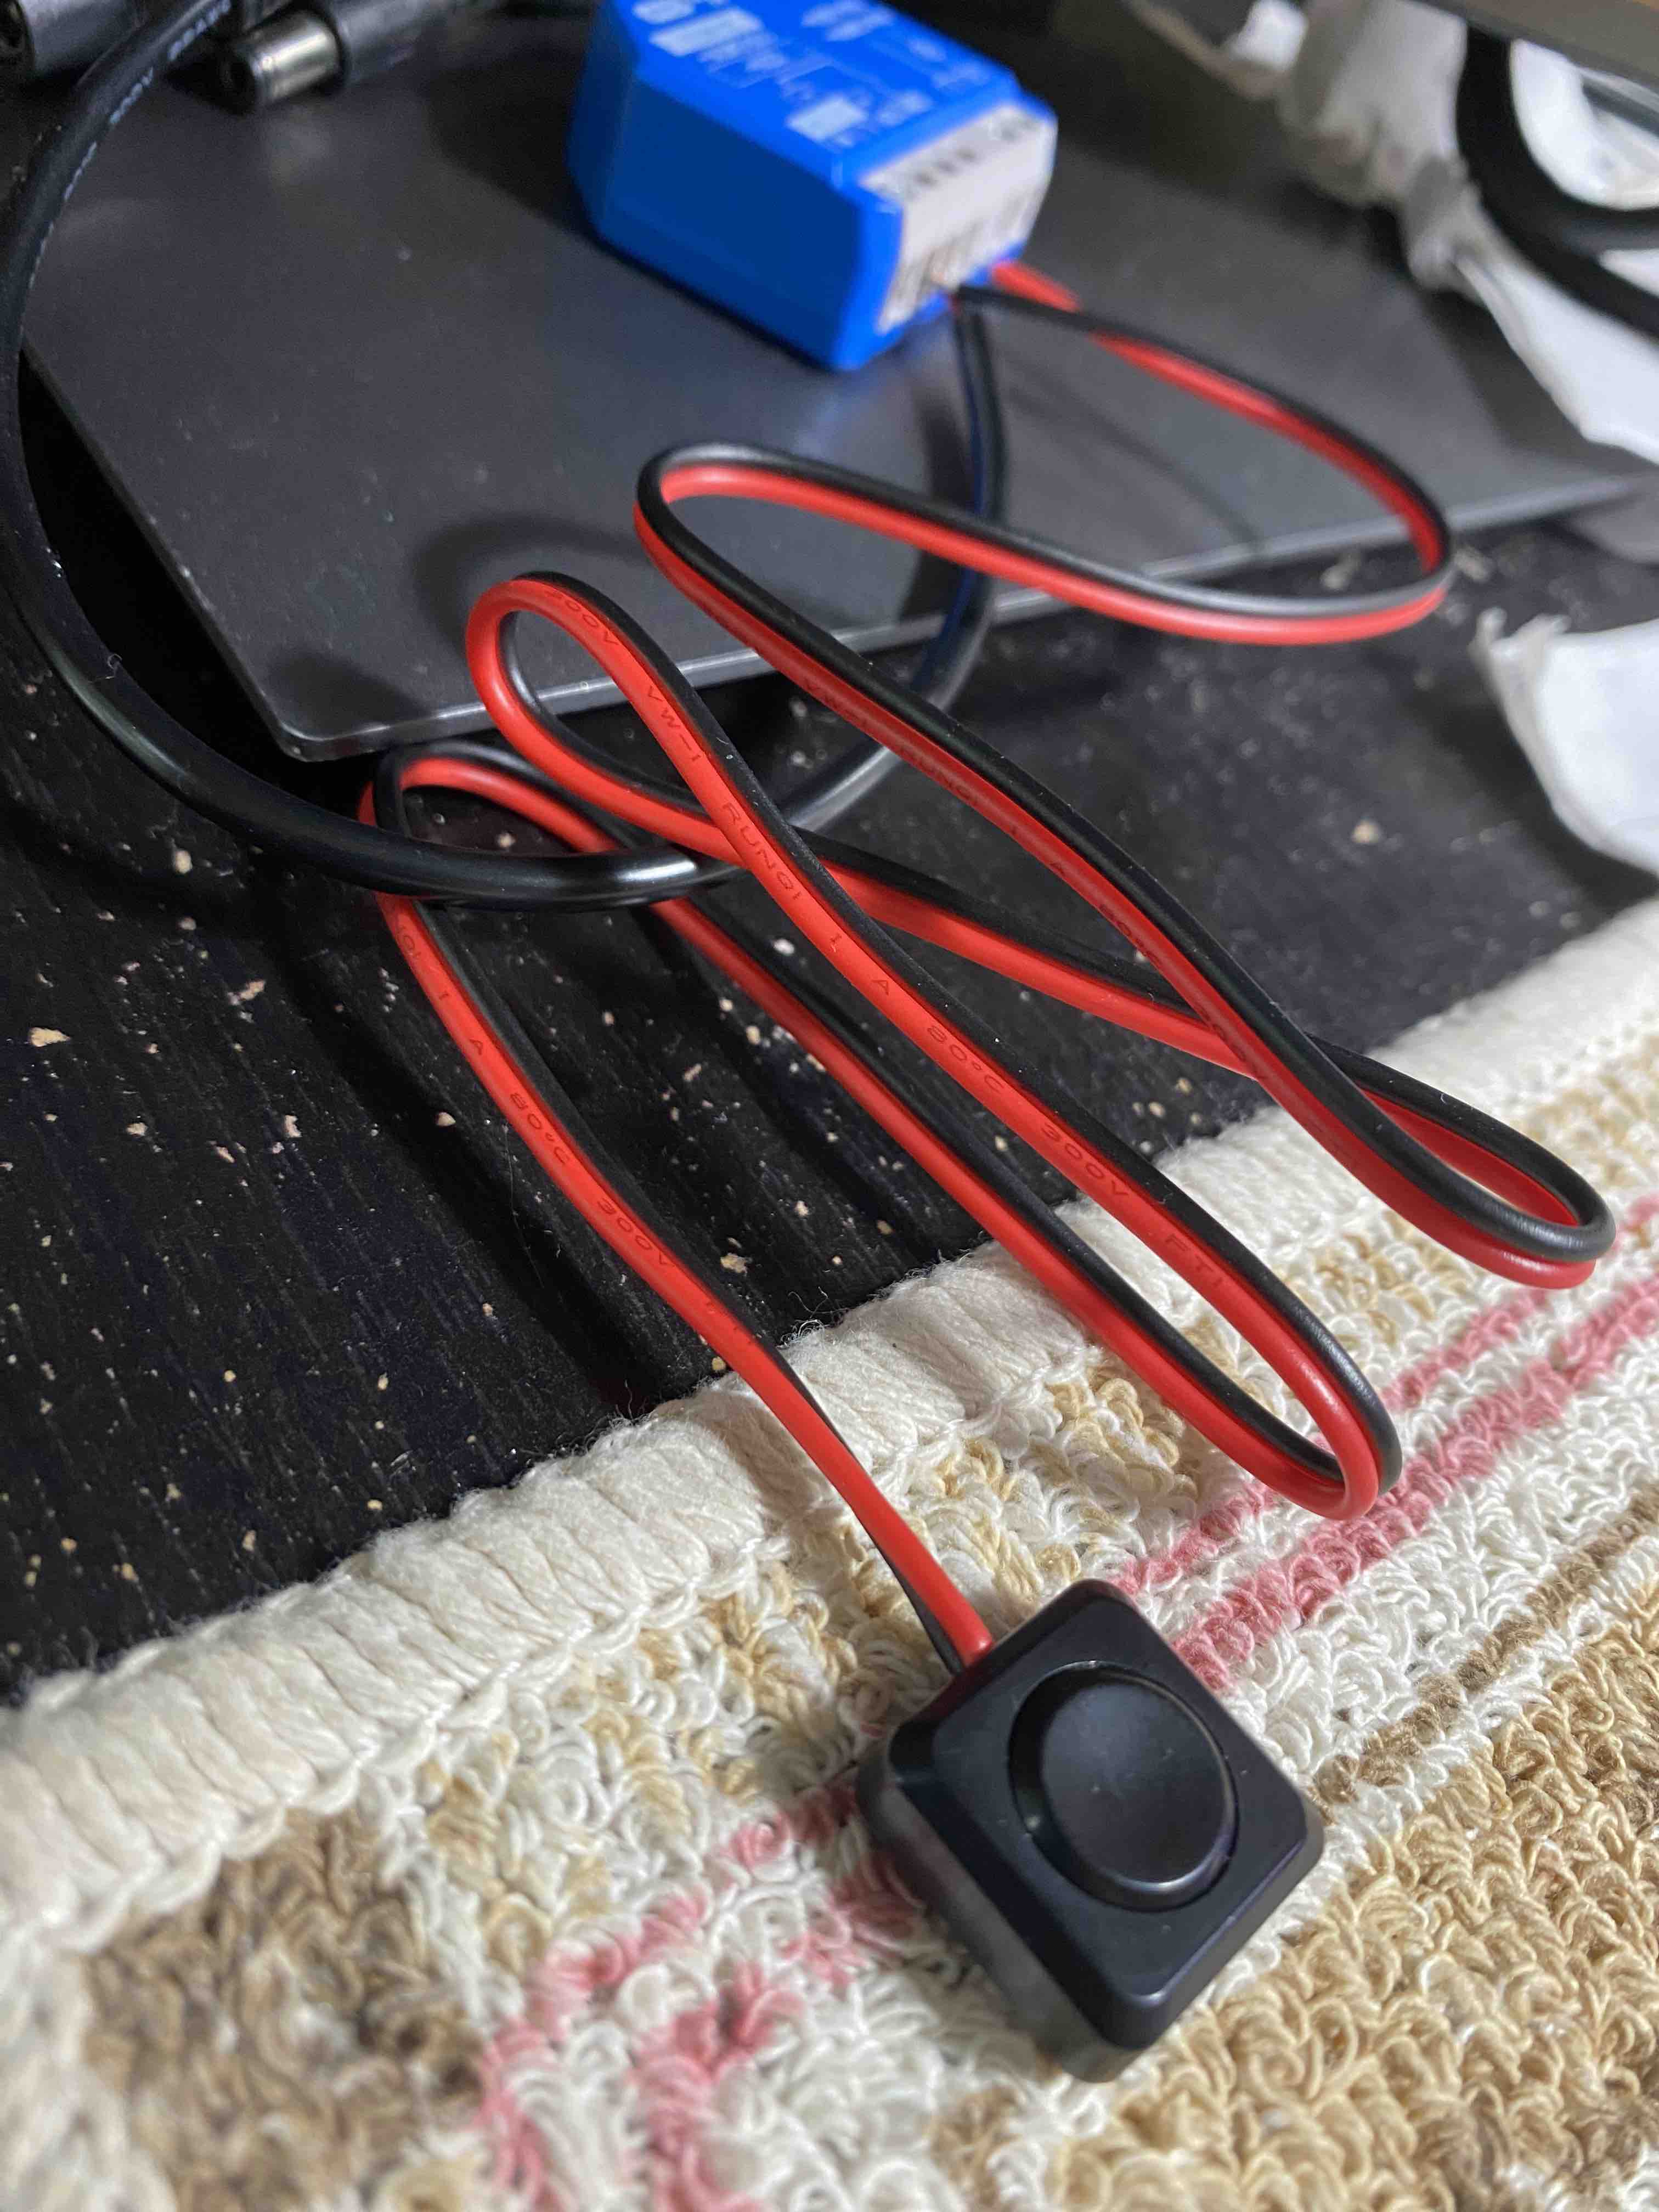
I ordered a Momentary Push Button Switch (12V/24V) — a small, simple component. It arrived, I installed it, and it worked like a charm immediately.
Using the same pins I was using with the jumper cables (L and SW), the button worked perfectly on the first try.
This device is legitimately good. The more I test it, the more I see the potential. Right now I’m validating the logic with a battery pack and a button. Once I’m confident, I can graduate to real installation — wiring it into an actual outlet in my home.
And here’s the bigger picture: once I’ve proven this works reliably, I could help other people automate their homes using the same approach. Shelly + battery pack + button = low-risk, reversible testing before any permanent installation.
The testing setup is solid now. No more fumbling with jumper cables. Just a clean, reliable button press every time.
The next phase is real-world installation on an actual home outlet. But I’m confident now. This button proved it.
Lesson learned: Sometimes the simplest hardware solution is better than the clever workaround. A $5 button beats a $0 jumper cable when it comes to actually getting things done.